DIY Salve That Fades Scars and Soothes Skin Fast
If you’ve been looking for a natural way to fade scars and soothe your skin, a DIY salve might just be what you need. Combining simple ingredients like coconut oil and beeswax can create a powerful healing treatment. Plus, adding essential oils can enhance its effectiveness. Curious about how to make it and what each ingredient does? Let’s explore the essentials to get you started on your journey to healthier skin.
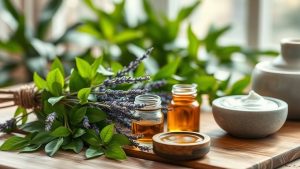
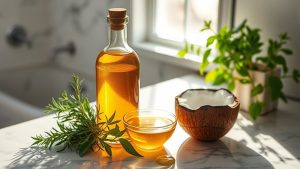
Essential Ingredients for Your Healing Salve
When you’re ready to make your healing salve, it’s essential to choose the right ingredients that promote skin regeneration and soothe scars. Look for natural oils like coconut and olive, which support wound and scar healing. Adding beeswax creates a protective barrier, while essential oils, such as lavender or frankincense, enhance the healing process and provide soothing properties for your skin. Incorporating natural ingredients in your salve can significantly improve its effectiveness in promoting skin repair.
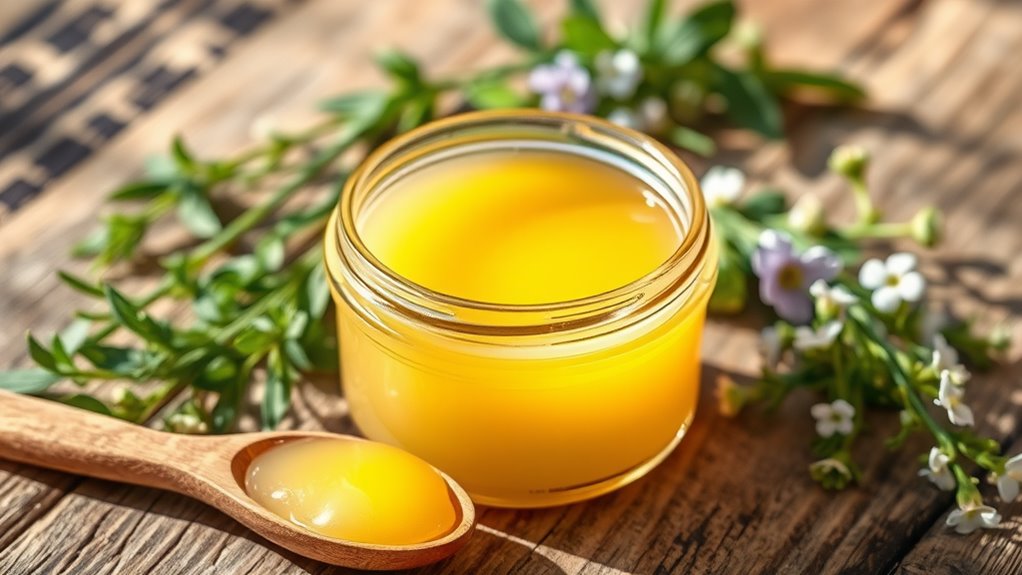
Step-by-Step Instructions to Create the Salve
Now that you’ve gathered your natural ingredients, it’s time to put them to work in creating your healing salve.
Start by melting the beeswax in a double boiler. Once melted, mix in your oils until combined. This salve not only helps to fade scars but also incorporates effective DIY methods that are supported by scientific evidence for optimal healing.
Pour the mixture into a clean container and let it cool completely. Your salve is now ready to use whenever you need soothing relief!
The Science Behind Each Ingredient
Understanding the science behind each ingredient in your salve can enhance its effectiveness and your confidence in using it.
For example, beeswax acts as a natural barrier, protecting your skin while locking in moisture. Coconut oil boasts antibacterial properties and promotes healing. Meanwhile, essential oils like lavender not only smell great but also reduce inflammation and support regeneration, making your salve powerful and soothing. Additionally, incorporating natural remedies like tea tree oil can further aid in combating blemishes, enhancing the overall efficacy of your skincare routine.
Tips for Application and Storage
To guarantee your DIY salve delivers the best results, apply it to clean, dry skin by gently massaging a small amount onto the affected area.
For ideal storage and effectiveness, consider these tips:
- Keep it in a cool, dark place.
- Use clean hands or a spatula for application.
- Seal tightly to prevent contamination.
- Check for any changes in smell or texture.
- Discard if it’s been unused for over six months.
Incorporating natural remedies into your skincare routine can enhance the efficacy of your salve and promote overall skin health.
Additional Uses for Your Healing Salve
While your DIY healing salve is excellent for scars and skin irritation, it can also serve multiple other purposes around the house.
Use it to soothe chapped lips or dry hands, and even apply it to minor burns for quick relief.
You can also use it on insect bites to reduce itching and inflammation.
Its versatility makes it a must-have in your home! Additionally, consider using it for natural remedies that help with sunburn relief and promote skin healing.